Backpack & Inventory · Carry rules
Big Walk Backpack & Inventory Guide
Backpacks and waist bags are the difference between a group that can split up and one that has to walk in a tight pack. Here is how carry actually works in Big Walk, where the packs come from, what belongs in each slot, and what happens when you fall off a train holding a spare flashlight.
💡 The short version
You start with hands only. A backpack adds a back slot, a waist bag adds a hip slot, and both come from blue spiral-shaped supply buildings, never from crafting. Packs add carry space with no inventory menu to open: you cannot stow what you are holding, and you cannot rearrange anyone else. No backpack capacity number is verified, so this guide sticks to slots and priorities.
🧭 Your Carry Setup at a Glance
The whole carry system in one table; every row is explained in full in the sections below.
| Slot / Rule | The Short Answer |
|---|---|
| Hands | Your action slots: only items held in hand can be used, transmitted, or read. |
| Back | One backpack from a blue spiral-shaped supply building. Wearing one earns Big Pack. |
| Hip | One waist bag from the same supply buildings. Wearing one earns Big Help. |
| Inventory menu | None. Packs add slots rather than menus; you cannot stow what you are holding or touch anyone else's gear. |
| Drop risk | Falls drop held items only; worn gear stays put. Logged-out gear respawns in a pile at the starting area. |
| Capacity number | Not verified anywhere, so plan around the three positions the game shows you directly. |
🎒 How Carry Works
Big Walk has no bottomless pocket. Everything you carry sits in one of three places, and only the first one is truly yours to use at a moment's notice.
Hands
What you are holding right now: the only items you can actively use.
A held walkie-talkie transmits, a held flashlight lights where you point, a held whiteboard can be read by anyone nearby. Hand slots are your action slots.
Back
One backpack, found in the wild rather than crafted.
Gear stored here rides along safely and is what earns the Big Pack achievement. It stays listen-only for voice gear: a walkie-talkie on your back receives, but cannot transmit.
Hip
One waist bag, from the same supply buildings.
Our map guide lists one waist bag explicitly as the slot for a third carried tool, so hip plus back plus hands is what a kitted-out trekker looks like. Wearing it unlocks Big Help.
How to use a backpack in Big Walk
You never open a backpack in Big Walk, because there is nothing to open. Using one means letting it hold an item for you: the pack rides on your back with whatever you claimed inside its slot, and that item stays safe through tumbles and logouts. The trade is that a stored tool goes passive. A walkie-talkie on your back hears the channel but cannot transmit, and a flashlight on your hip lights nothing until it is back in a hand. Treat the pack as safekeeping for the tool you will need later, and keep the tool you need right now in hand.
The four rules that surprise people
- Packs add slots, not menus. There is no inventory screen to open and shuffle; a slot is simply an item that stays with you.
- You cannot stow what you are holding. Put the item down or hand it over first; the bag will not take it from your hands.
- You cannot remove gear from anyone else. A pack somebody is wearing is locked to them for the session.
- Worn gear is half-deaf, not half-useless. A back or hip walkie-talkie receives but cannot transmit, so the speaker has to hold the unit.
📏 Backpack Size: What Is and Is Not Documented
Search "backpack size" and you will find confident numbers. None of them come from anything we can verify, so this table records what the game's carry system is known to do, and it says plainly where the numbers are missing.
| Question | What this guide can stand behind |
|---|---|
| Is there a backpack capacity number or grid size? | Not in anything we can verify. This guide describes carry by slot position (hands, back, hip) because no official figure for how many slots a bag holds or for inventory grid dimensions has been confirmed. If another walkthrough quotes a neat number for backpack size, treat it as unverified. |
| Do backpacks and waist bags stack? | Yes. They occupy different slots (back and hip), which is why the tenth supply building, the one holding a red backpack and a teal waist bag together, is worth visiting with whoever still has both free. |
| Does a better backpack exist? | The ten supply buildings hand out differently colored packs (orange, light blue, yellow, teal, pink, red), and our records describe them by color only. Nothing verified says one carries more than another, so pick a color you like and plan around slots rather than upgrades. |
| Is there a weight limit? | No weight system appears anywhere in our notes. The constraint that actually bites is slot availability and the fact that a pack is not a menu. See the rules below. |
| Is there an inventory screen? | No. Packs add carry slots rather than an inventory menu. There is no bag to open, no item list to shuffle, and no way to stow something you are already holding. |
⚠ No slot count, on purpose
Neither the store listing nor the official material we can check publishes a capacity figure, and our own pages never stated one. Rather than guess, plan for three carry positions (hands, back, hip) because that is the limit the game shows you directly.
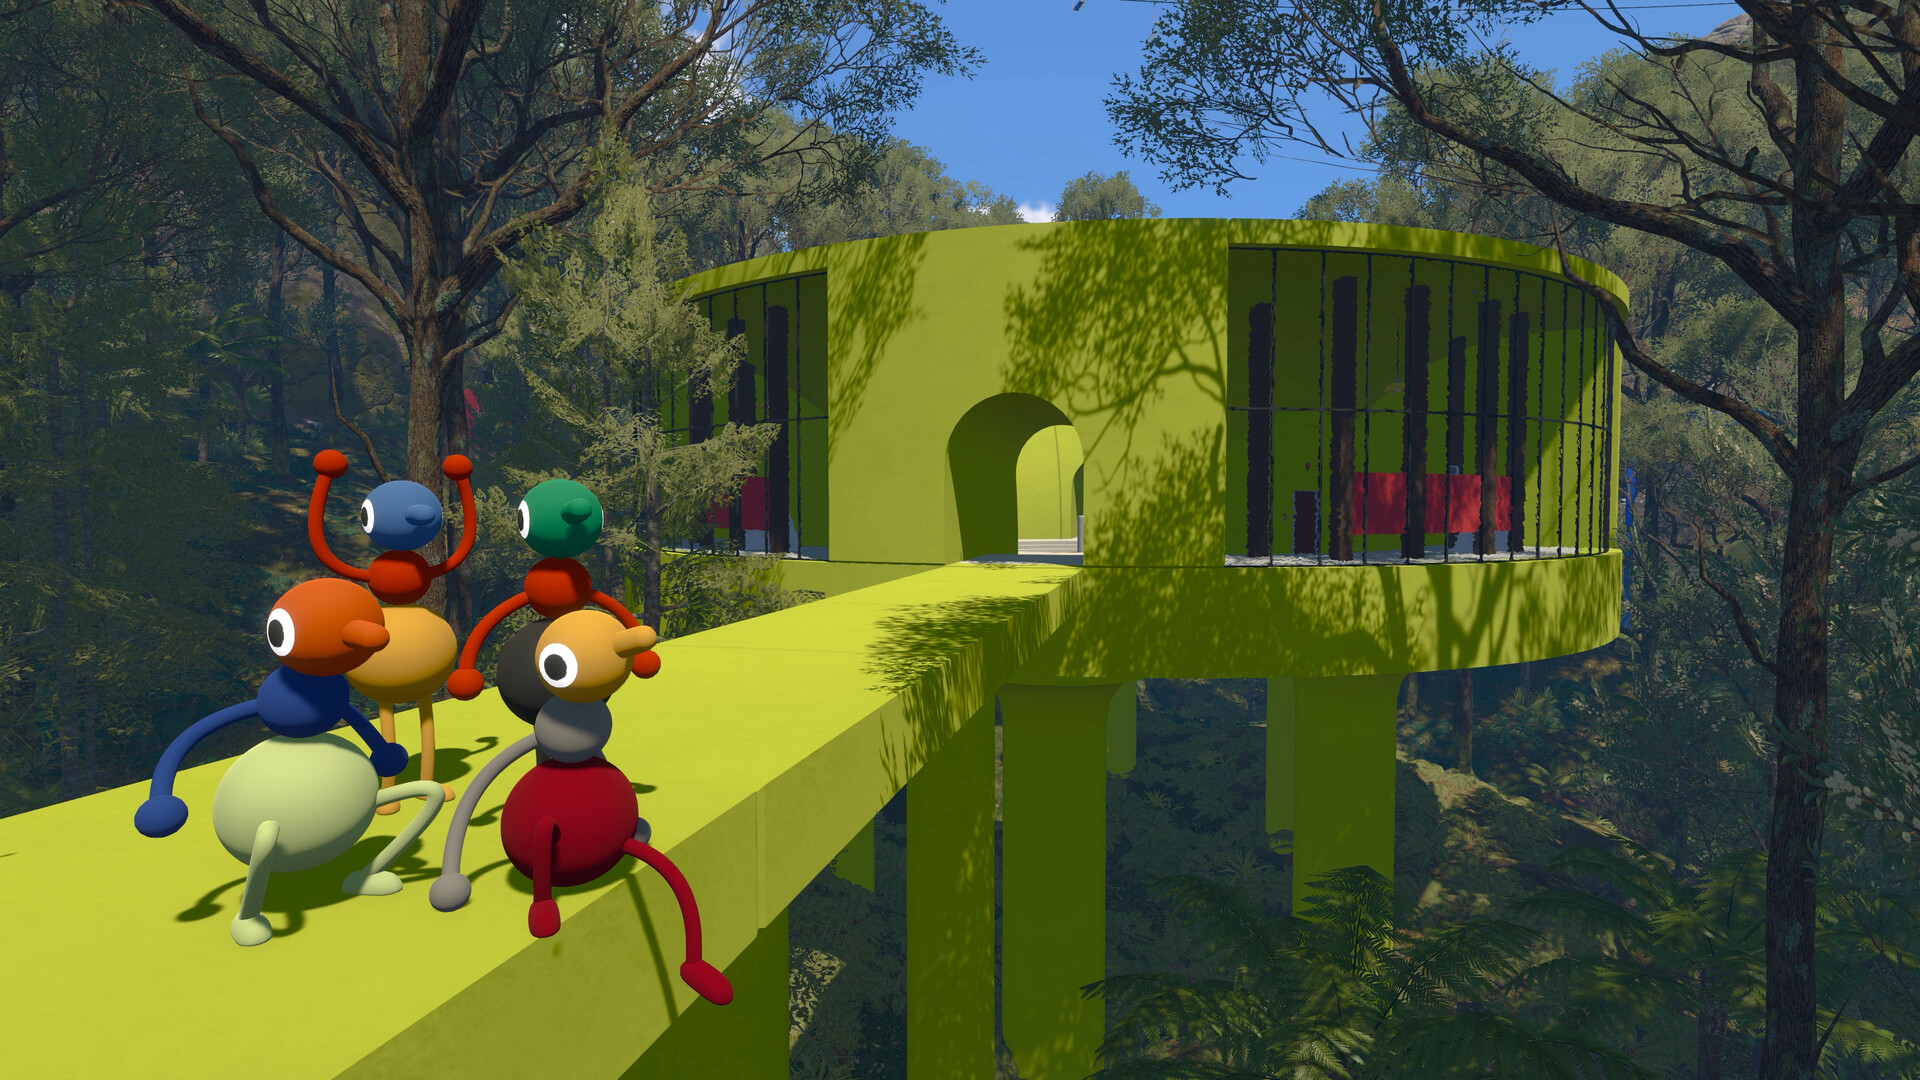
🗺 Where to Find Backpacks: The Ten Supply Buildings
Carry gear is loot rather than a craft. Look for the blue spiral-style buildings, ten of them across the island, marked as small blue buildings on the foldable map, and definitely not the same structure as the blue tower. Full location detail lives in our Big Walk map guide.
Building 1: Orange waist bag
A standard supply stop on the open island, and a good first hip slot.
See it on the map page →Building 2: Orange backpack
Same network of blue buildings; watch the foldable map markers.
See it on the map page →Building 3: Light blue backpack
One claim only at each building, so split up to gear everyone.
See it on the map page →Building 4: Green waist bag
The hip slot our map guide calls home to a third carried tool.
See it on the map page →Building 5: Purple waist bag
Reach it the easy way: the tunnel running from the Yellow Tower toward the Blue Tower.
See it on the map page →Building 6: Yellow backpack
Standard blue-building loot. See the map page anchor for stop 6.
See it on the map page →Building 7: Teal backpack
Standard blue-building loot.
See it on the map page →Building 8: Yellow waist bag
Standard blue-building loot.
See it on the map page →Building 9: Pink backpack
Standard blue-building loot.
See it on the map page →Building 10: Red backpack + teal waist bag
The only spot offering two carry items at once, reached after solving the Green Tower.
See it on the map page →💡 Do the maths on your crew size
Ten buildings, one claim each, lobbies up to twelve players: a full crew cannot all come home kitted out from a single sweep. Decide who gets a back slot, who takes a hip slot, and who volunteers to carry the spare flashlight by hand.
⚖ What Deserves a Slot
Since nobody can hand around a full tool shed, the queue below is our recommended ordering for the slots you have earned. It is a decision framework rather than a rule the game enforces. The tool by tool reasoning is on the mechanics & how-to page.
Take it on day one
Walkie-talkie and flashlight. Voices fade across the island and nightfall hides your friends; the walkie-talkie only works one-way unless someone actually holds it, and flicking a flashlight is a crisp yes/no code. Both pay for their slot before you reach the first tower.
Carry for the towers
Binoculars, laser pointer, flares. Towers ask for five gourd collectibles each and the island is big enough that spotting the next one from a ridge beats walking blind. Light beams reach the night sky, so they double as position markers for split groups.
Save a slot for puzzle gear
Whiteboard and megaphone. Plenty of Big Walk puzzles expect hushed or silent communication, and a drawn hint or a projected voice has cleared more of them than shouting across a valley ever did.
Optional, and that is the point
Radio, cowbell, the big golden head. Some tools exist because hanging out is the objective: music carries, a cowbell is unforgettable, and none of them need to be efficient. Decide as a group before someone locks the good slots.
⚠ Drop Risk: What You Actually Lose
Falls and long tumbles
There is no fall damage in Big Walk, but a tumble stuns you briefly and drops whatever is in your hands. Worn items (back or hip) stay put. That is the whole argument for strapping the thing you can't afford to lose onto someone instead of trusting their grip on a slope.
Getting off the train
The train never stops on its own; you hop off wherever the rails pass something interesting. Falling off a moving train does no lasting damage, but it can drop whatever you were holding, so wear the pack, do not carry the pack.
Logging off mid-trek
Nothing is lost permanently. Anything fastened to you or held in your hands reappears in a pile in the starting area next session, which makes the spawn point the island's lost-and-found.
⚠ The one real risk
Dropped gear sits on the ground and small items (laser pointers especially) roll away into the grass. Recover it before the group moves on, or you will be re-walking the route looking for it.
🏅 Two Achievements Hang Off Your Kit
| Achievement | Requirement | Fastest Path |
|---|---|---|
| Big Pack | Wear a backpack | Claim a backpack from any blue spiral-shaped supply building. |
| Big Help | Wear something on your hip | Equip any waist bag from a supply building, one of the fastest unlocks in the list. |
The full set of twelve, with routes, is on the walkthrough page.
FAQ
How do you get a backpack in Big Walk?
Find one of the ten blue spiral-style supply buildings scattered across the island and take it; nothing is crafted. Each building yields exactly one waist bag or backpack, claimable by a single player, so a group has to spread out to kit everyone.
Where do you find a backpack in Big Walk?
Backpacks come from the ten blue spiral-style supply buildings on the open island, never from a shop or a crafting menu. On the foldable map they read as small blue buildings, so the practical search is to sweep those markers and walk into each one. Every building holds a single waist bag or backpack and only one player can claim it, which is why a group splits up to gear everyone. The numbered building list, with what each one holds, is on the Big Walk map page.
Is a Big Walk bag or bagpack the same as a backpack?
Yes. Big Walk bag and Big Walk bagpack are just ways players type and spell backpack; they are not separate items. The carry gear the game hands out is the backpack, which takes your back slot, and the waist bag, which takes your hip slot, and both are claimed from the same ten blue spiral-style supply buildings. Nothing called a bag carries its own separate rules.
Why can I not put my item in my own backpack?
Because packs work as extra hands rather than a storage menu. You cannot stow something you are already holding, and you cannot pull gear off another player. Whoever holds it, carries it, so agree on the loadout before you split up.
Can you lose your backpack or the gear inside it?
A tumble only drops what is in your hands; items worn on your back or hip stay secured. Anything held or worn when you log out reappears in a pile in the starting area next session, so gear is never truly gone, but small dropped items like laser pointers roll away into the grass, so grab them quickly.
How big is the Big Walk backpack?
No capacity figure is documented anywhere we can verify, and this guide will not invent one. Practically, a backpack means one more item riding on your back alongside whatever is in your hands, and a waist bag adds a hip slot on top of that.
Does every player in the lobby get a backpack?
Not automatically. Ten supply buildings, one claim each, against lobbies that hold up to twelve players: a full crew has to divide them up, and someone may trek bare-handed while the group sweeps the rest.
How do you equip a backpack in Big Walk?
There is no equip screen to hunt for. Packs are claimed rather than crafted or bought: walk into one of the ten blue spiral-style supply buildings and take the backpack or waist bag inside. What you claim is what you wear: a backpack takes your back slot, a waist bag takes your hip slot, and wearing each is exactly what the Big Pack and Big Help achievements ask for. Each building yields one claim, so a group has to spread out to kit everyone.
What is the hip pack in Big Walk?
It is the waist bag under another name. The hip pack takes your hip slot, carries one more tool so your hands stay free, and stacks with a backpack because the two occupy different slots. Like every other pack, it is claimed from one of the ten blue spiral-style supply buildings rather than crafted.
Does a walkie-talkie in my backpack still work?
Only half. Anything strapped to your back or hip stays listen-only: you can hear the channel, but transmission needs the unit held in hand. Hand it to whoever is moving if that person is supposed to talk.
Last updated: September 13, 2026